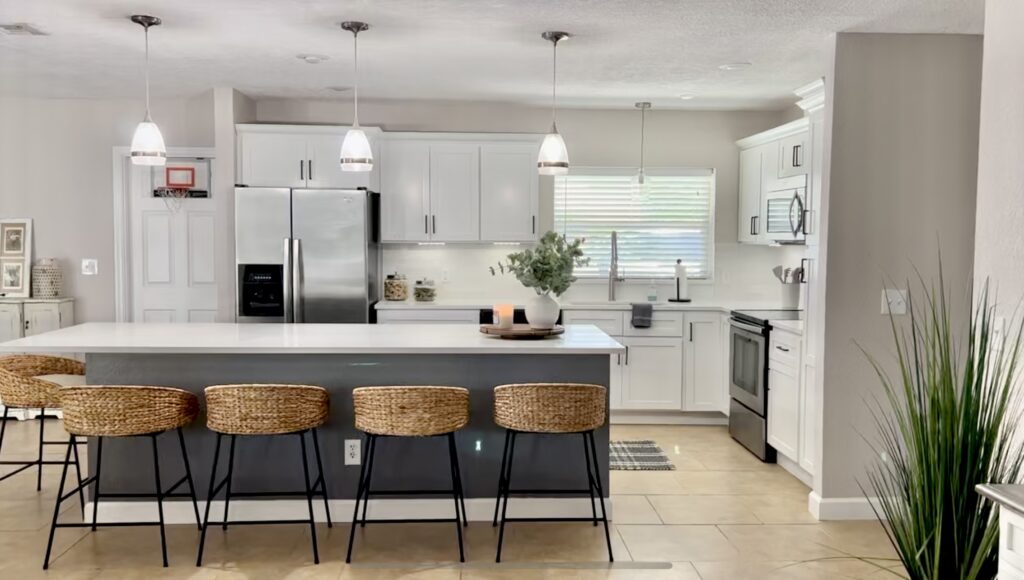
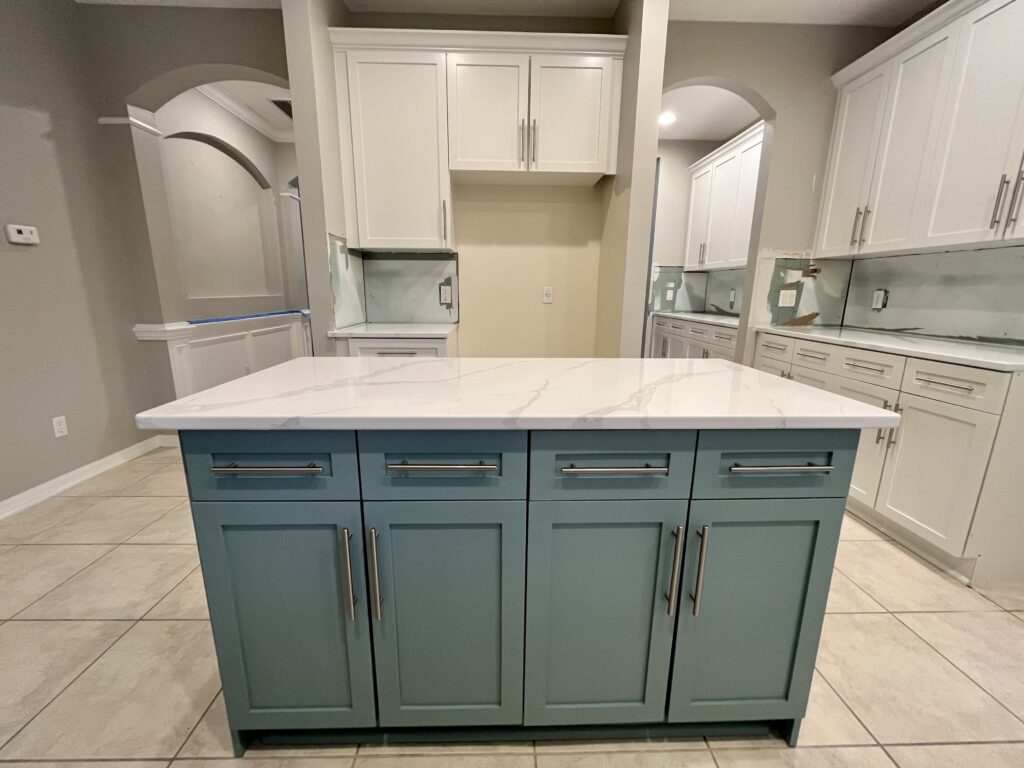
Looking to give your kitchen a makeover but worried about the cost? Refinishing kitchen cabinets is a great way to restore your kitchen’s charm without the hefty price tag of a full remodel. This guide will explore the why’s and how’s of cabinet refinishing, ensuring your kitchen makeover is both stylish and sustainable.
Get ready to learn how to transform your kitchen the smart way!
Why Refinish Your Kitchen Cabinets

Maximize Value, Minimize Cost
Refinishing kitchen cabinets is a smart move for anyone looking to update their kitchen while keeping costs low. Here are some reasons why:
- Affordability: Compared to buying new cabinets, refinishing is a lot more affordable. You don’t have to spend a large amount of money on new materials and labor for a full replacement. This makes it a budget-friendly choice for updating your kitchen.
- Preserving Quality: Often, your existing cabinets are of good quality and structurally sound. Refinishing allows you to maintain this quality. You’re not just saving money, but also making the most of what you already have. This is smarter than spending more on new cabinets that might not be as well-made.
- Customization at Low Cost: When you refinish, you have the freedom to choose different colors and finishes. This means you can get the exact look you want without the high price of custom cabinetry. It’s a great way to match your kitchen to your changing style preferences without breaking the bank.
- Increases Home Value: A well-executed cabinet refinishing can also increase the value of your home. A fresh and modern kitchen look is appealing to potential buyers if you’re considering selling your home.
- Long-Term Savings: By refinishing, you extend the life of your cabinets. This means you won’t need to replace them for a long time, leading to long-term savings.
Eco-Friendly Choice
Refinishing kitchen cabinets is a small but important step in living more sustainably. It’s a decision that benefits your home and the health of our planet. By making this eco-friendly choice, you contribute to a greener, cleaner world.
Here’s why this approach is an eco-friendly one:
- Reduces Waste: Typically, old cabinets that still work well end up in landfills when replaced. By refinishing, you prevent this waste. You keep your existing cabinets and just give them a new look. This means less stuff is thrown away, which is great for the environment.
- Saves Resources: Making new cabinets uses a lot of resources like wood, energy, and water. When you refinish, you use far fewer resources. This is because you’re just updating what you already have, not making something new from scratch.
- Less Pollution: Producing new cabinets can lead to pollution. There are the emissions from factories and the chemicals used in making new materials. Refinishing uses fewer harmful chemicals and produces less pollution overall.
- Promotes Sustainable Living: By choosing to refinish, you’re making a decision that supports sustainable living. It shows you care about using resources wisely and reducing your environmental impact.
Refinishing Kitchen Cabinets: The Process

Selecting the Right Color and Finish
You must consider the existing elements of your kitchen, like countertops, backsplash, and appliances. Your cabinet’s color and finish should complement these features. For example, a modern kitchen might benefit from sleek, glossy finishes, while a rustic kitchen could look great with a matte finish.
Understanding Different Finishes
- Glossy Finish: This finish reflects light, making your kitchen look brighter and more spacious. It’s a great choice for smaller kitchens or spaces with less natural light. However, keep in mind that glossy surfaces can show fingerprints and smudges more easily.
- Matte Finish: If you prefer a more understated look, a matte finish is ideal. It’s good at hiding smudges and fingerprints, making it a practical choice for busy kitchens.
- Satin Finish: Satin finishes strike a balance between glossy and matte. They have a soft sheen that’s not too shiny but still helps brighten up the space.
- Neutral Tones: If you’re looking for a timeless look, neutral colors like whites, grays, and beiges are safe and versatile choices. They allow for more flexibility in changing your kitchen’s decor in the future.
- Bold Colors: For a more striking impact, consider bold colors. Deep blues, greens, or even black can make a statement and give your kitchen a unique character.
- Warm or Cool Tones: Think about whether you want your kitchen to have a warm or cool ambiance. Warm tones like reds, oranges, and yellows create a cozy feel, while cool tones like blues and greens give a calm and serene vibe.
- Testing Samples: Before making a final decision, it’s wise to test paint samples on your cabinets. Observe how the color looks in your kitchen’s lighting at different times of the day.
Preparing the Cabinets
Preparation is indeed the key to a successful cabinet refinishing project. This crucial step ensures that the new finish adheres well and extends the lifespan of your cabinets. Here’s a breakdown of the preparation process:
- Cleaning the Cabinets: Start by thoroughly cleaning your cabinets. This step is essential to ensure that the new paint or stain adheres properly to the cabinets.
- Sanding the Surfaces: Once the cabinets are clean and dry, the next step is sanding. Sanding helps to remove the old finish and roughen up the surface for better paint adhesion. Use fine-grit sandpaper and sand evenly.
- Repairing Damages: Before moving on to priming, inspect the cabinets for any damages like scratches, dents, or holes. Use wood filler to repair these imperfections. A smooth surface is crucial for a flawless finish.
- Removing Dust: After sanding, it’s important to remove all the dust from the cabinets. Wipe them down with a tack cloth or a damp rag. Ensuring the cabinets are completely dust-free is important because any remaining particles can get trapped under the paint, leading to a rough finish.
- Applying Primer: Priming is an essential step, especially if you are making a drastic color change or working with dark-stained wood. Primer helps to cover the existing finish and provides a uniform base for the new paint. It also improves paint adhesion and increases the durability of the paint job.
- Allowing Adequate Drying Time: After each step – cleaning, sanding, repairing, and priming – allow adequate time for the surfaces to dry completely. Rushing through these stages can lead to subpar results.
For more detailed step-by-step instructions on how to prepare cabinets for refinishing or painting, read our blog post “Cabinet Painting Preparation 101: A Step-by-Step Guide.”
Applying the Finish
Next, apply your chosen finish. This can be paint, stain, or a clear coat, depending on the look you’re aiming for. Applying the finish calls for attention to detail and precision to achieve a smooth, professional look. Here are some key points to consider:
Choosing the Right Tools
Select the appropriate tools for application. Brushes, rollers, or sprayers can be used depending on the type of finish and the desired outcome. Brushes work well for a hand-painted look, rollers are great for a smooth finish on flat surfaces, and sprayers are ideal for a uniform and professional finish, especially on detailed or intricate cabinet designs.
Applying Thin Coats
It’s important to apply the finish in thin, even coats. Thick coats of paint or stain can lead to drips and an uneven finish. Multiple thin coats often yield better results than a single thick coat. Allow adequate drying time between coats as recommended by the product’s guidelines.
Consistency in Strokes
Ensure consistency in your brush or roller strokes. Going in one direction helps in achieving a uniform finish. If using a brush, long and smooth strokes will help avoid brush marks.
Watching for Drips and Imperfections
Keep an eye out for drips or imperfections as you work. Address them quickly before the finish dries. A light sanding between coats can help eliminate any bumps or irregularities.
Final Coat for Protection
Once you’ve applied the desired number of color coats, consider a final clear coat for added protection, especially for cabinets that see heavy use. This clear coat can be a polyurethane or acrylic sealer, which adds durability and helps protect the color from fading or staining.
Proper Ventilation
Ensure your workspace is well-ventilated, especially when using oil-based finishes or sprayers. Good ventilation helps in faster drying and reduces the risk of dust settling on wet surfaces.
Patience and Precision
Take your time and don’t rush the process. Precision and patience are key to achieving a flawless finish. It’s the attention to detail in this step that will make your cabinets look professionally done.
If you’re painting your cabinets, here’s a helpful video from Lowe’s to guide you through the process:
Adding the Final Touches
Adding the final touches to your refinished cabinets is like putting the cherry on top of a sundae. It’s these small details that can significantly enhance the overall look and feel of your kitchen. One of the most effective ways to do this is by updating the hardware, such as handles and knobs.
Choosing new hardware that complements your freshly refinished cabinets can tie the whole look together. For example, modern, sleek handles can enhance a contemporary cabinet finish, while classic knobs might better suit a traditional style. Opt for hardware that harmonizes with other elements in your kitchen, such as faucets or appliances. This creates a cohesive and well-thought-out look.
When selecting new hardware, consider the quality as well as the aesthetics. High-quality hardware not only looks better but also lasts longer, making it a wise investment.
When installing new hardware, precision is key. Ensure that new handles or knobs are aligned correctly and evenly. Misaligned hardware can detract from the beauty of your refinished cabinets. Don’t be afraid to experiment with hardware placement. Sometimes, changing the position of handles and knobs can alter the cabinet’s appearance and functionality.
Conclusion
Refinishing kitchen cabinets is a smart way to update your kitchen. Whether you choose a DIY approach or hire professionals, it’s an investment in your home’s beauty and functionality. With the right approach, your kitchen can become a stunning reflection of your personal style.
If you’re considering refinishing your kitchen cabinets and want exceptional results, Cabinet Coating Kings is a name you can trust. With over a century of combined team experience and a track record of satisfying more than 1,250 customers, we offer a range of cabinet painting and refinishing services, tailored to meet your specific needs and style preferences.
Call us today at 407-917-9535 for a free consultation and estimate.
